I've seen pom pom, coffee beans, candy decorated ones etc for Christmas and decided I'd try doing something with layered fabric instead. I love how it turned out for his "Modern Nature" baby room.
Materials:
Styrofoam Cone
Fabric (I think I used about 1/2 yard since I got such a tall tree)
Glue Sticks/Gun
Rotary Cutter/Mat OR Pinking Shears
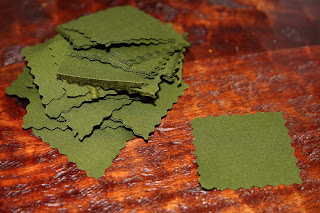
First step was to cut fabric squares with my Rotary Cutter and Mat. I made my squares 2"x2". If you don't have a rotary cutter and mat you can just use pinking shears.
Next fold the 2"x2" square in half
Then in half again (excuse the lack of manicure on his mama)
Then I put a dot of hot glue (be careful!) in the corner of the last fold so that it'll stay folded for you.
Then you just place each "triangle" on the cone with glue. I worked my way down the cone and I turned the triangles different angles to they would all lay just a little differently.
 |
| up close picture of the pinking edges |
This project is something very easy to do while watching TV however it takes a little while just because its a little tedious. I think I used 250+squares on this large tree. I will be trying a smaller tree soon to go with this large one. I'm going to do the next one with some patterned fabric instead :)
Here it is now in its new home in Lincoln's baby room:
And for a sneak peek, yet again, here are some fabrics that are soon to make their way into his room:


No comments:
Post a Comment