Showing posts with label Crafting/Decor. Show all posts

12.29.2011

Backyard update

You might remember THIS post about redoing our chair and table set to bring some life to the back yard.

Well, here is how it has turned out thus far:

Next up is just some new landscaping in the Spring! Can't wait!!

11.11.2011

A New Tutorial on my Business Blog

Go check it out here:

If you want to see tutorials that I put on there (more to come) and be kept up to date on deals and giveaways then, feel free to subscribe by e-mail (on the right margin you'll see a place to do this!)

If you don't want to read the whole tutorial, here is the final product:


11.06.2011

Lincoln's "Custom" Crib Sheet

Lincoln's room is definitely a lot more custom and has a lot more true handmade pieces.   (Sorry Jack!)  One thing I've been talking about and wanting to do for MONTHS is make him crib sheets out of designer fabric that I liked, not just had to settle for from the baby stores.

Here is the first fabric I wanted to use

I followed this tutorial to some degree.  I did a little more finishing on the inside seams but pretty close.  I love Prudent Baby for all things sewing!  Here is a pic of how the sheets turned out....I will post more ROOM pics soon but its not quite finished so I'm going to keep giving you piece by piece!


 Whatcha think?!

9.27.2011

Help! Need your Suggestions!

Going to spray paint our rattan chair on our back patio, SOON hopefully.  The Texas sun has really gotten to the stain.  Our umbrella for our table is bright yellow. The patio is a flagstone pattern in a beige stone color and bright border.

So I need your opinion folks:  What color should we do? 
We also have a matching side table that has a glass top that we will also be painting. Should we do the side table in the same color? different?

Margarita 
Vermillion

Porch Yellow

Cool Aqua
Utah Sky

9.23.2011

Fabric Tree DIY Tutorial

I was walking through Hobby Lobby and saw this styrofoam cone form and had an "ah ha" moment.  I got a pretty large one, but there are much smaller ones too that I may go back for later :)

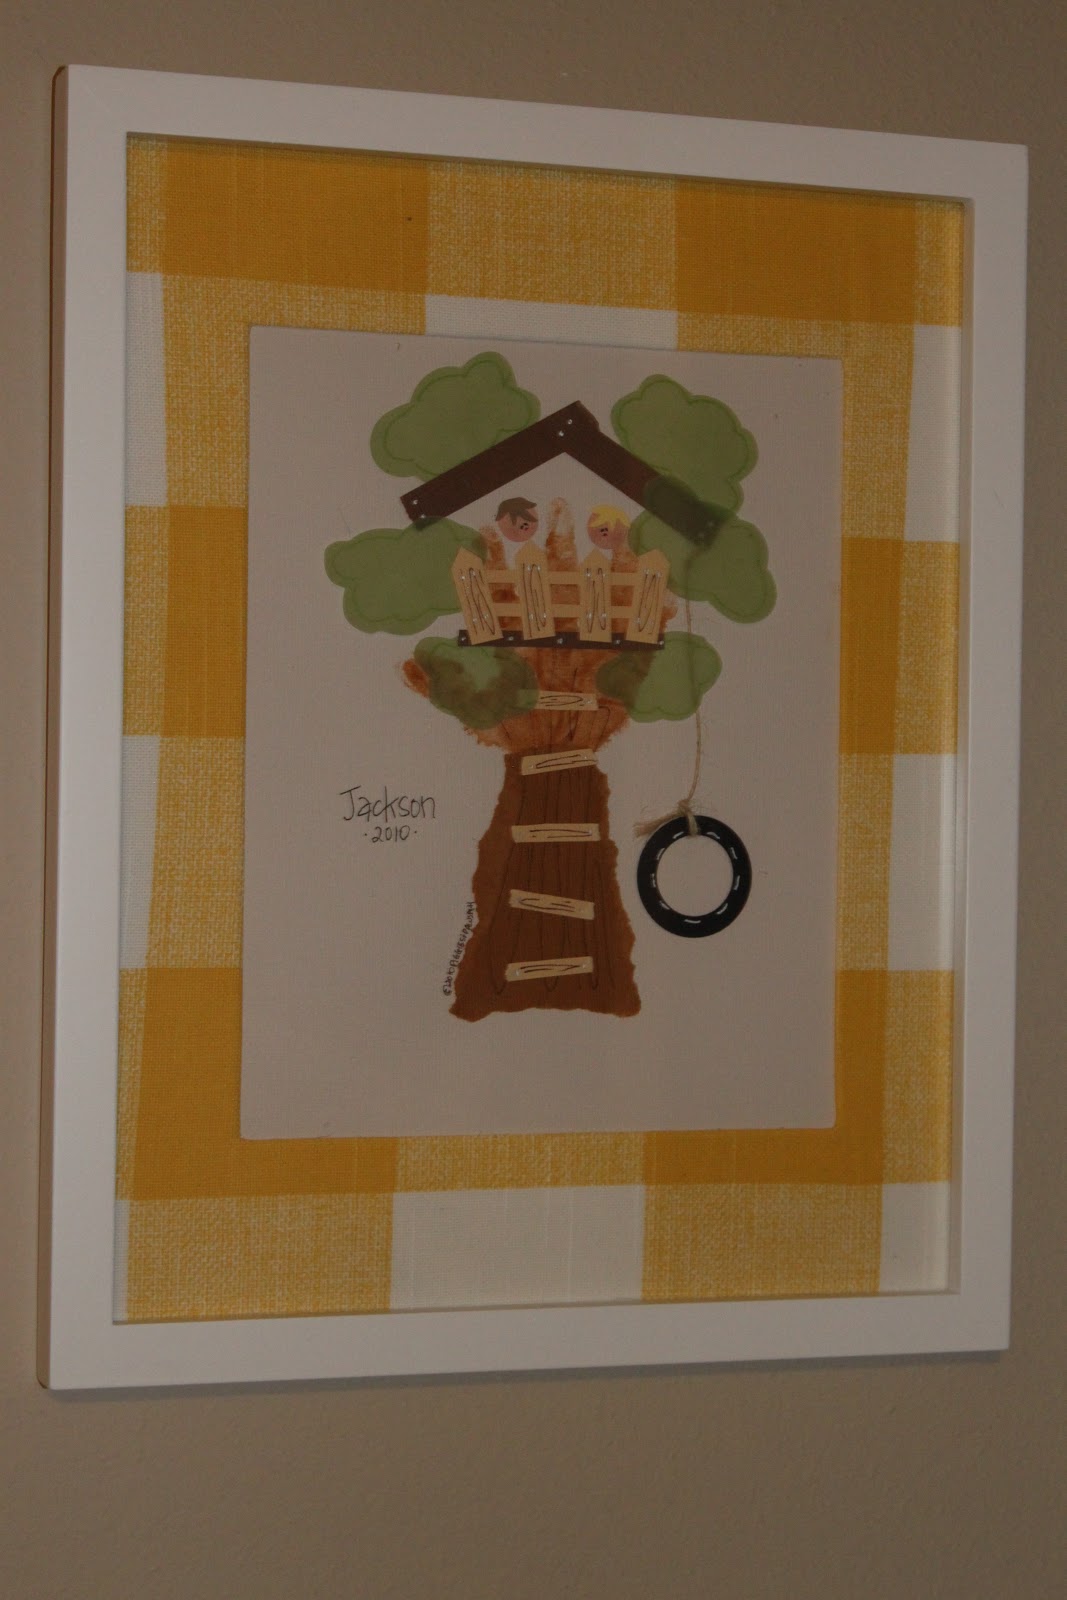
I've seen pom pom, coffee beans, candy decorated ones etc for Christmas and decided I'd try doing something with layered fabric instead.  I love how it turned out for his "Modern Nature" baby room.

Materials:
Styrofoam Cone
Fabric (I think I used about 1/2 yard since I got such a tall tree)
Glue Sticks/Gun
Rotary Cutter/Mat OR Pinking Shears

First step was to cut fabric squares with my Rotary Cutter and Mat.  I made my squares 2"x2".  If you don't have a rotary cutter and mat you can just use pinking shears.

Next fold the 2"x2" square in half
Then in half again (excuse the lack of manicure on his mama)
Then I put a dot of hot glue (be careful!) in the corner of the last fold so that it'll stay folded for you.

Then you just place each "triangle" on the cone with glue.  I worked my way down the cone and I turned the triangles different angles to they would all lay just a little differently.

up close picture of the pinking edges

This project is something very easy to do while watching TV however it takes a little while just because its a little tedious.  I think I used 250+squares on this large tree.  I will be trying a smaller tree soon to go with this large one.  I'm going to do the next one with some patterned fabric instead :)   

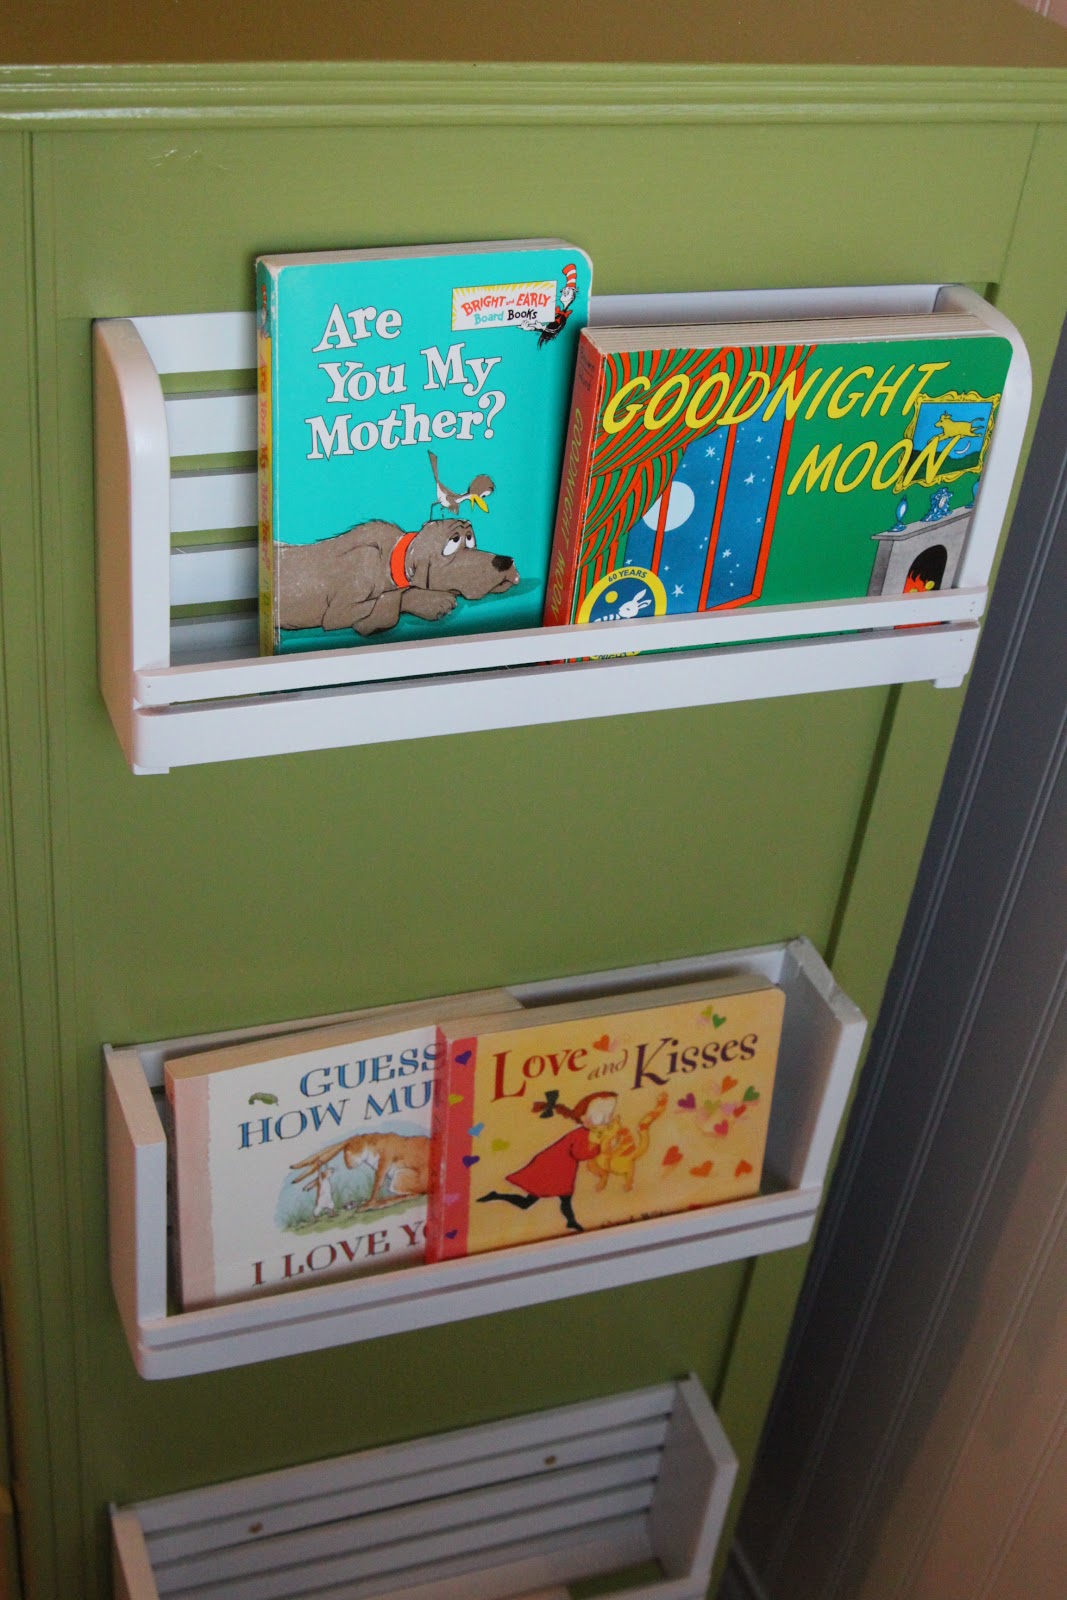
Here it is now in its new home in Lincoln's baby room:


And for a sneak peek, yet again, here are some fabrics that are soon to make their way into his room:


9.20.2011

Sneak Peek at Lincoln's Room

Here are just a few pics of Lincoln's Room in progress:
Lincoln's door to his room that I put letter decals on! Jackson also has this on his door to his new room as well.

Here is a find from my DC days.  It is an old white washed window turned mirror :)  Love how it looks in his room and loved reusing this in a completely new way in Lincoln's baby room.
This project was a wooden "L" I picked up at Hobby Lobby that I covered with green moss!  I loved how it turned out.

Here are a couple strands of mini burlap flags/bunting that I got at this awesome Etsy shop.  One of my favorite songs when thinking about my current and future baby is "Baby Mine" from Dumbo that you can listen to here.  I thought it was really fitting so I had her custom make this.  

Here is just one of the 3 rustic stars I'll have in the room as well as this drift wood vase I picked up.


I have a few more fun things to share with you as I get some more things put together but I thought this was a good sneak peek!

9.08.2011

New Fall Wreath!

Finally got to a project I've been wanting to get to for a while...my new Fall Wreath.


I bought a styrofoam 18" wreath form ($6 after coupon), wrapped it in 12 yards of golden rod ribbon ($4), added Cork Flower shapes ($.63) on clearance and fall flowers ($2), a little moss (~$2) and letter D I painted red & copper ($2).  I just hung it with some scrap ribbon I had.  I love how it turned out! What do you think?


Total project cost: $16.63! A lot cheaper than the $75 ones I love but refuse to buy.

Want to see some other AWESOME wreath ideas....go here! Too bad I can't make one for EVERY day of the year!

9.04.2011

Playroom Projects Continued!

Finished Jackson's Playroom curtains and labeling of his bins as I showed you here and here.

Today finished up this project I had my eyes on for quite some time and had collected the items for and finally got to is.
 Got the clips painted today and now hung up on the wall with some of Jackson's new art work from school.

Also moved Jackson's Elephant paintings and grouped them with a treehouse Jackson "created" last December.
We went to a Piggies & Paws party then and they used his handprint for the branches of the tree and added twine rope for the swing and cute wooden steps up the tree.  I covered the photo mat with some great yellow check fabric and it works perfectly!


8.19.2011

Family Wall Project- COMPLETE!

I have been collecting frames and pictures and dreamed of a great wall to showcase some family photos.  When Grammie was here we decided to tackle the project and she even helped me decide on the PERFECT location. We picked the big wall by the landing of our stairs.  Here is a picture of the whole wall and the different pictures/things broken down for ya!  Some of the frames need straightened, but you get the idea :)

"Together We Make A Family"

View from bottom of staircase

from Bottom Left clockwise:
My Great Aunt Eloise, Rob's Grandfather, a beautiful cross Rob and I got on our honeymoon, and my Grandmother Rosemary

Rob's Grandmother (amazing photo right?!)

Letter "D" I painted copper/metallic and my Grandmother Lois (very special picture to me since she has passed)

Sign that my brother, father and hubby helped me make LAST year.  It is an Upper Case Living decal that I bought and put on this large piece of wood.

From Left to Right: Pop (my Great Grandfather), Rob as a kid with his Dad, and Gram (my Great Grandmother)


8.11.2011

Playroom Updates in Progress

We are making lots of little changes around here before January 2012 comes around.  Here is a TEENY sneak peek:

Jackson's new fancy workbench
 (minus the screwdriver that Holly has now chewed up)

New fun elephant print valance I made
 for the room (coordinating pillows to come)

Elephant paintings that Jackson made with me! 
Next up are Jackson's big boy room and finishing up the new Sewing Room/Guest Room.

5.01.2011

Operation Renovation

We are renovating our house...after back and forth (multiple times!!!) we have decided to stay in our home and MAKE it our dream home...well close to it anyway! :)

We will be redoing the flooring ALL of downstairs, new Master bedroom furniture and redesign (moving Rob's office into our Master...but in a fun, stylish, not TOO "officey" way), new kitchen backsplash, wall mounting both TVs, new living room sectional, re-tiling fireplace surround, and installing a sprinkler system.  Okay, PHEW that was exhausting just typing it all out.  We had a lot of this on our list before we put the house on the market last Fall, but now we're staying here...so lots of catching up to do!  I'm going to be keeping my blog updated with our progress.

Today I'll just show a VERY small project in the making for 2 years.  I FINALLY got my glass shelf in our bathroom. Don't ask me why it took so long, but it did...and now its done.  Simple, easy to do, happy its done.


Whatcha think?